Expertise and quality of model making at the service of a passion
Description
Content
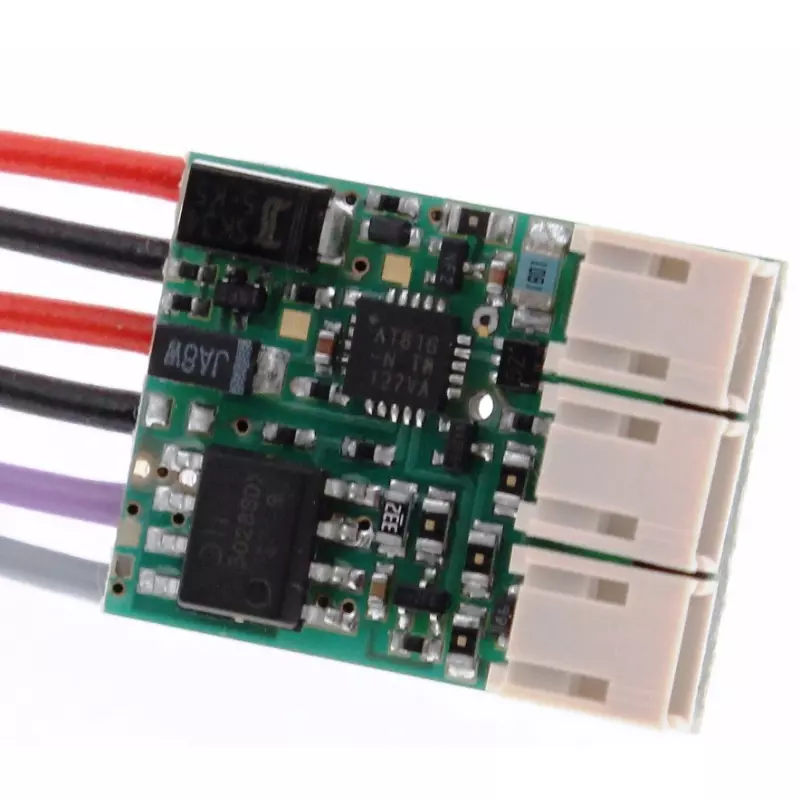
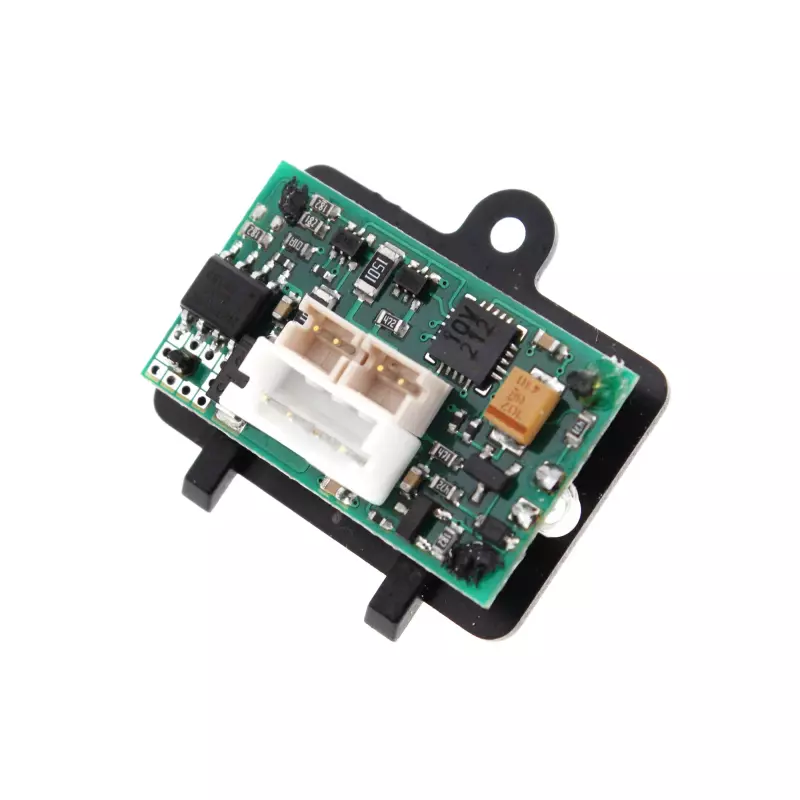
1 Decoder with connecting cables and IR diode
1 Support for IR diode
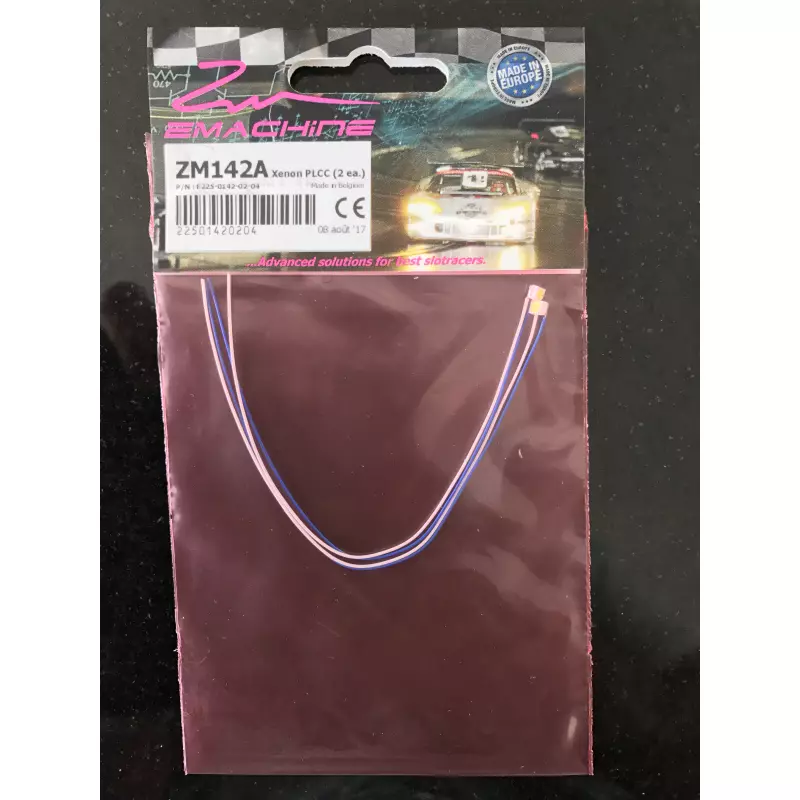
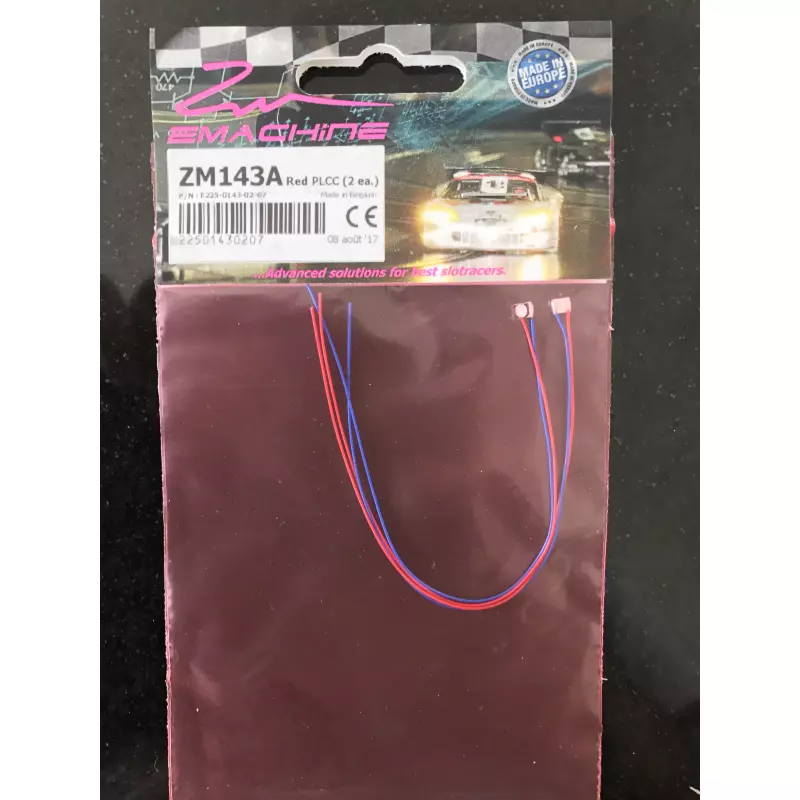
3 Cables for light with soldered jacks
1 Instruction guide
Technical data
Minimum operating voltage: 12,0 Volt DC
Maximum operating voltage: 15,5 Volt DC
Size (L x W x H): 18,8 x 14,2 x 6,5 mm
Net weight: 2 g
Special functions
Front light, taillight and separate brake light
Safeycar or Pacecar function
No accidental transcoding while driving
Stronger braking
The pitlane function is only possible using the CU 30352 of Carrera.
Installation instructions
The decoder has to be fixed, e.g. by mirror adhesive tape (not included), into the chassis at the appropriate place. For mounting the IR diode a hole with a diameter of 3.0 mm has to be drilled in range of the front third and seen from above 12.5 mm left of the centerline of the chassis. The enclosed support for the IR diode has to be glued into the chassis in the region of the drilled hole and the IR diode hast to be mounted therein (hot glue recommended).
The decoder has separate connections for rear light and brake light. To use the built-‐in rear-‐ / brake light function on the rear light connection the soldering points (red framed on Figure 1) on the bottom of the decoder must be connected.
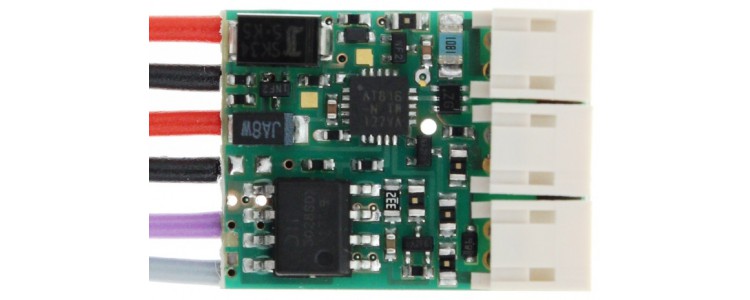
Decoder connections
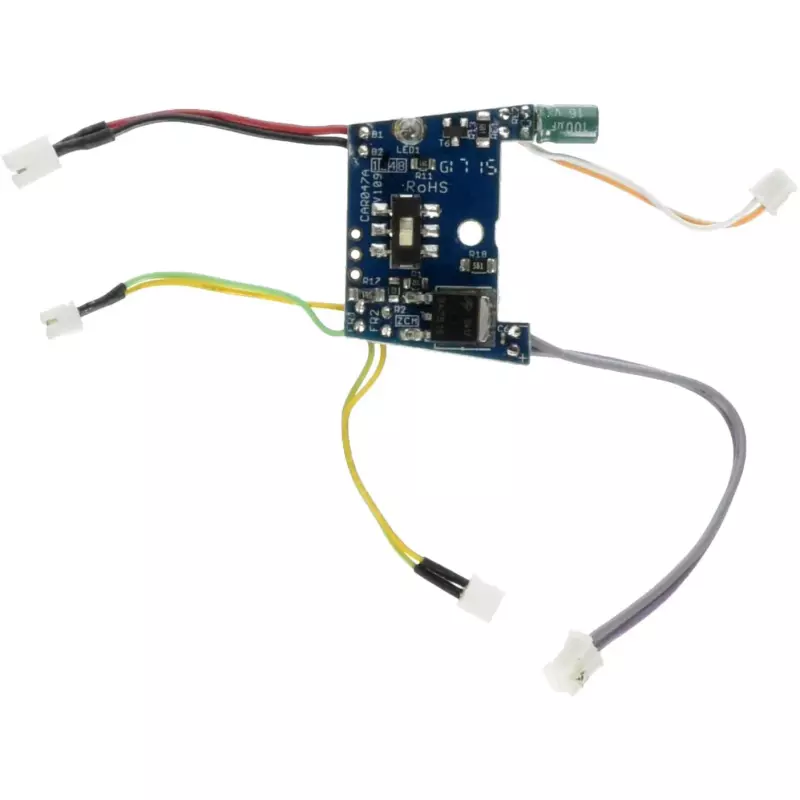
Braids: Cable black = - / red = +, without plugs, tinned
IR diode: Cable black = - / red = +, IR diode soldered
Motor: Cable grey = - / purple = +, without plugs, tinned
Light: Plugs for enclosed light cords
Recommendations
Attaching a suppression capacitor parallel to the motor terminals (47-‐100 nanofarads -‐ not included).
Using series 3mm Standard LEDs in white or red with upstream resistance for better appearance (680Ω for white and 330Ω for red -‐ not included).
Main Functions
To change settings the slotcar hast to be placed on the track in driving direction. Any change in the programming is confirmed by fast flashing lights. Any settings remain stored until a new programming is carried.
Encoding to an according speed controller
Start the encoding process by pressing the CODE button on the CU and complete the process by pressing the lane change button on the speed controller.
In the case of encoding by double pressing the lane change button on the speed controller please note a short break between the clicks (about 0.5 seconds). Furthermore, the vehicle must be de-‐energized at least 3 seconds before each encoding. The introduction of the encoding process is visually signaled by fast flashing lights after the first double pressing the lane change button on the speed controller.
Setting the basic speed
By pressing the SPEED button on the CU select the desired speed level and confirm by pressing the ENTER button on the CU.
Setting the braking effect
By pressing the BRAKE button on the CU select the desired braking level and confirm by pressing the ENTER button on the CU.
Light on/off
The slotcar must be located at least 3 seconds at a standstill on the track. Then the light can be switched on or off by pressing the lane change button on the speed controller.
Technical sheet
Length
18,8 mm
Height
14,2 mm
Depth
6,5 mm
Weight
2 gr
Power supply
12 - 15,5 Volts
Questions
If you have any questions regarding the product, feel free to post below. Other consumers may also provide you with additional information. Log in to your member area in order to post or answer a question.
